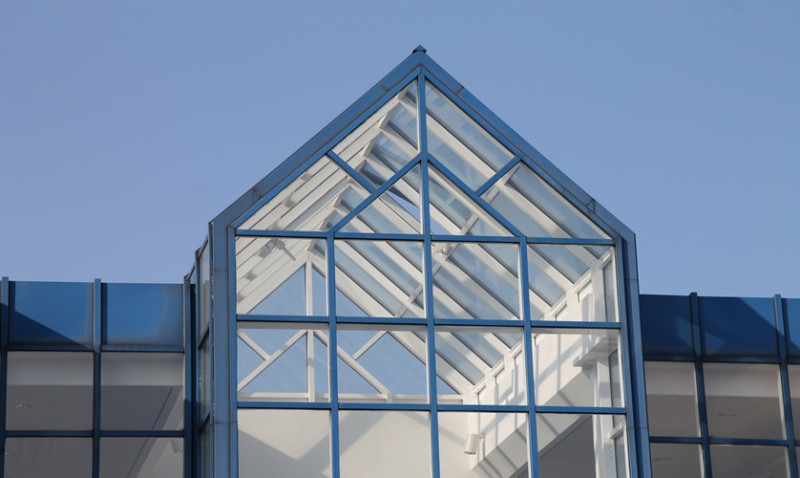
Conservatories are a popular addition to many UK homes, providing extra space and a charming link between the indoors and out. However, traditional conservatories are notoriously inefficient when it comes to temperature control. In the summer, they can become unbearably hot, while in the winter they often turn icy cold. If you're looking to make your conservatory usable all year round, insulating and cladding the roof is a smart and rewarding solution. Whether you're a DIY enthusiast, homeowner, or a trade professional, this guide will walk you through how to effectively insulate and clad your conservatory roof, increasing comfort, energy efficiency and even property value.
Why Insulate Your Conservatory Roof?
Standard conservatory roofs are typically made of polycarbonate or glass, neither of which offers much thermal insulation. As a result, the indoor temperature fluctuates throughout the year, making the space uncomfortable and inefficient in terms of energy usage.
Insulating your conservatory roof helps stabilise the internal temperature, making the space more functional year-round. It reduces heat transfer, keeps the cold out during winter and limits solar gain during summer. This means you’ll rely less on heating and cooling appliances, saving on energy bills and reducing your environmental impact.
From a design perspective, adding insulation followed by attractive internal cladding can completely transform a cold, uninspiring space into a cosy, stylish room that feels like a true extension of your home. Whether you're planning to use your conservatory as a home office, dining room, or entertaining area, insulation is a vital first step.
Types of Roof Insulation for Conservatories
There are several insulation options available when it comes to conservatory roofs. Each type has its own set of pros and cons depending on budget, desired appearance and insulation performance.
| Type | Pros | Cons |
|---|---|---|
| Multifoil Insulation | Lightweight, space-saving, good thermal performance, easy to install | May require a batten system, less effective than thicker rigid options |
| Rigid PIR Boards | Excellent thermal insulation, moisture-resistant | Heavier, requires precise cutting and more support |
| Fibreglass / Rock Wool | Cost-effective, great sound and thermal insulation | Can sag over time, must be properly contained |
For most DIYers and homeowners in the UK, multifoil insulation is an excellent choice. It’s easy to manage, can be fitted with minimal tools, and is highly effective in boosting thermal performance. Professionals, on the other hand, might prefer PIR boards for their superior insulation properties, especially for more permanent conversions.
Steps to Insulate Your Conservatory Roof
Before starting, ensure the conservatory roof structure is sound and able to take the added weight of insulation and cladding. If you're unsure, consult a structural engineer or qualified tradesman.
- Measure and Plan: Accurately measure the roof panels and identify the material type. Decide on your preferred insulation method and calculate how much material is needed.
- Install Battens (if needed): If you're using multifoil or rigid boards, you’ll need to install wooden battens along the internal rafters to support the insulation and cladding.
- Fit Insulation: Cut your insulation material to size and fit it snugly between or across the battens. Pay close attention to the edges and joins to avoid thermal bridging.
- Seal Gaps: Use foil tape or insulation-friendly sealants to seal all gaps, corners, and joins. This step is crucial to minimise air leaks and maximise efficiency.
- Install a Vapour Barrier: Especially in cooler climates, a vapour barrier helps prevent condensation between the insulation and the rest of the roof structure.
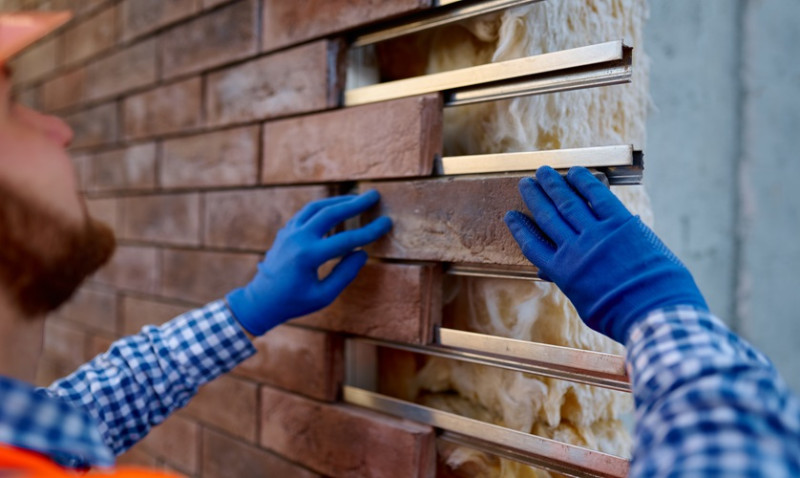
Always wear appropriate safety gear, especially when dealing with fibreglass or rock wool insulation. Eye protection, gloves, and a dust mask are essential.
How to Clad Your Conservatory Roof Internally
Once the insulation is in place, cladding the interior completes the look and helps to hide insulation and structural elements. This is where you can get creative with your design to match the rest of your home décor.
The most popular cladding materials for internal conservatory roofs in the UK include uPVC panels, tongue-and-groove timber, plasterboard, and composite panels. Each has its pros and aesthetic appeal:
- uPVC Panels: Easy to clean, modern appearance, water-resistant – ideal for low maintenance setups.
- Tongue-and-Groove Timber: Traditional, warm feel, can be painted or stained for desired look.
- Plasterboard: Offers a seamless, flat ceiling look, perfect for painting and a more finished appearance.
To fit your cladding:
- Start by marking your battens clearly. These will be the fixing points for your panels.
- Using screws and adhesive (where needed), attach your cladding starting from one side and working across. Make sure each piece is level and securely fastened.
- Leave expansion gaps where appropriate—especially for timber, which can expand and contract with humidity and temperature changes.
- Finish with trims and edging for a clean, professional look.
Things to Consider Before Starting Your Conservatory Roof Upgrade
While insulation and cladding can be tackled by confident DIYers, it’s important to consider several key factors before you dive in:
- Weight Load: Glass and polycarbonate roofs are designed for lightweight structures. Overloading could cause structural issues or even lead to roof failure. Always calculate total weight and consult a professional if unsure.
- Planning Permission: Generally, internal insulation doesn’t require planning permission, but it’s good practice to double-check with your local council, especially if you're making larger structural alterations.
- Roof Vents & Lighting: Consider whether roof lights or vents will be impacted. You may need to reroute integrated lighting or wiring.
- Warranty Implications: Modifying the roof may void warranties on your conservatory, especially if it's relatively new. Check manufacturer's terms before beginning the project.
These considerations help ensure your work is safe, effective and compliant with UK building standards and regulations where required.
Final Thoughts: Creating a Year-Round Living Space
Insulating and cladding your conservatory roof is one of the best investments you can make to transform a seasonal room into a true extension of your living space. While initially it may seem like a big project, it's relatively simple when broken into key stages—and the rewards are well worth it.
Whether you're a hands-on DIY lover looking for your next project, or a tradesman advising a client, the outcome of roof insulation and cladding is the same: a warm, welcoming, and stylish space that can be used and enjoyed all year round.
With clever planning, quality materials, and attention to detail, not only will you improve the comfort and usability of your conservatory, but you’ll also add value to your home in a very competitive UK property market.
Ready to Get Started?
Check out our range of conservatory insulation and cladding products specifically designed for UK homes. Want expert advice? Get in touch with our friendly customer service team—we’re here to help every step of the way.
Trending articles
- How to Get More Insulation And ... Feb 2026
- How Much Does Insulation And Cladding ... Feb 2026
- How to Find a Reliable Insulation ... Feb 2026
- Cladding Insulation Costs UK 2026: ... Feb 2026
-
How To Insulate and Clad Your ...
Jul 2025
-
 How You Can DIY External Wall ...
Jul 2025
How You Can DIY External Wall ...
Jul 2025